Instructions For Applying Graphics
Ok so you have your graphics for your boat and your boat is painted. But
you are nervous about applying your decals especially the big ones. Well
this is a down and dirty guide that will take the fear of screwing up on
this beautiful boat you've spent all this time building. There are a lot
of misconceptions about what is and is not correct with regards to RC
Boat graphics. If you have printed graphics...listen carefully. You WILL
NEED some sort of protection to protect them from fuel. Whether you are
clearing over them with automotive clear or the decal has a clear
laminate over it already it does need protection from fuel either nitro
or gasoline. The color on printed vinyl WILL run when fuel hits it if
not protected. Plus it is only UV rated for three years in most cases.
Cut vinyl resists fuel better but the adhesive on the decal is still
compromised by fuel so consider protecting that as well.
|
To apply graphics to your boat you will need the
following:
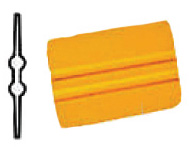 4 Inch Polyvinyl Squeegee. 4 Inch Polyvinyl Squeegee.
 Spray bottle with WATER ONLY and the nozzle set
for fine mist.
Do NOT use soapy water! Soap will affect the adhesive's ability to stick
to your boat. Spray bottle with WATER ONLY and the nozzle set
for fine mist.
Do NOT use soapy water! Soap will affect the adhesive's ability to stick
to your boat.
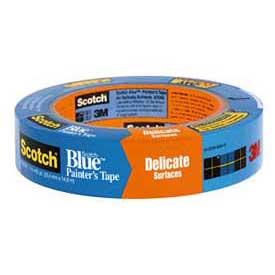 Blue or green painters tape. Blue or green painters tape.
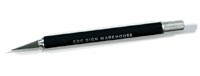 Xacto Knife with pristine blade Xacto Knife with pristine blade
|
1. Placement is usually pretty important. Exspecially in
a Scale Boat. That is what the painters tape is for. Place your graphic where
you want it. Take a piece of tape and put it along either the top edge or side
edge over the premask tape that is on your graphic. Now, you have that one side
is on your graphic and one side is for your boat or part. Once it is placed
affix the tape to the boat or part. Now you can lift the decal using the tape
like a hinge.
2. Once the graphic is lifted remove the backing paper.
Before you lay it down shoot a FINE mist of water over the surface. Do not use
too much water since the graphics will not stick and you will not be able to
remove the premask tape from your graphic!
3. Now with the squeegee in one hand you can begin to lay
the graphic down. Working from the edge that is taped, work the squeegee over
your graphic lightly as you lay it down. This helps remove water and helps to
eliminate bubbles under your graphic.
4. Now take the squeegee and you can more forcefully work
the graphic and remove excess water from under is and burnish it down to the
area it is being applied to.
5. Very slowly begin to remove the premask from your
graphic. Pull at a 45 degree angle or more to the direction of the graphic. Also
pull low not up from the graphic. If you graphic starts to come up as well...lay
it back down and work with squeegee some more. Another reason to just use a
light mist of water.
6. Once you remove the premask tape check for bubbles. If
you have some bubbles use the squeegee and knife tip to lightly pop and sgueegee out.
7. Lightly dab the area, DO NOT WIPE, with a towel to
remove any water left. Preferrably not a paper towel.
8. Allow some time for any moisture to dry before
applying clear coat since any water may make clear coat cloudy.
You can do this dry if you wish. Just use the same
application method minus the water. If you have a large graphic use several
pieces of painters tape and you can cut the premask and apply in sections.
If you have any other questions you can call or email us.